Africa4x4
African Adventure - Our Trip
Tyres; Brakes; Suspension

TYRES; BRAKES; SUSPENSION
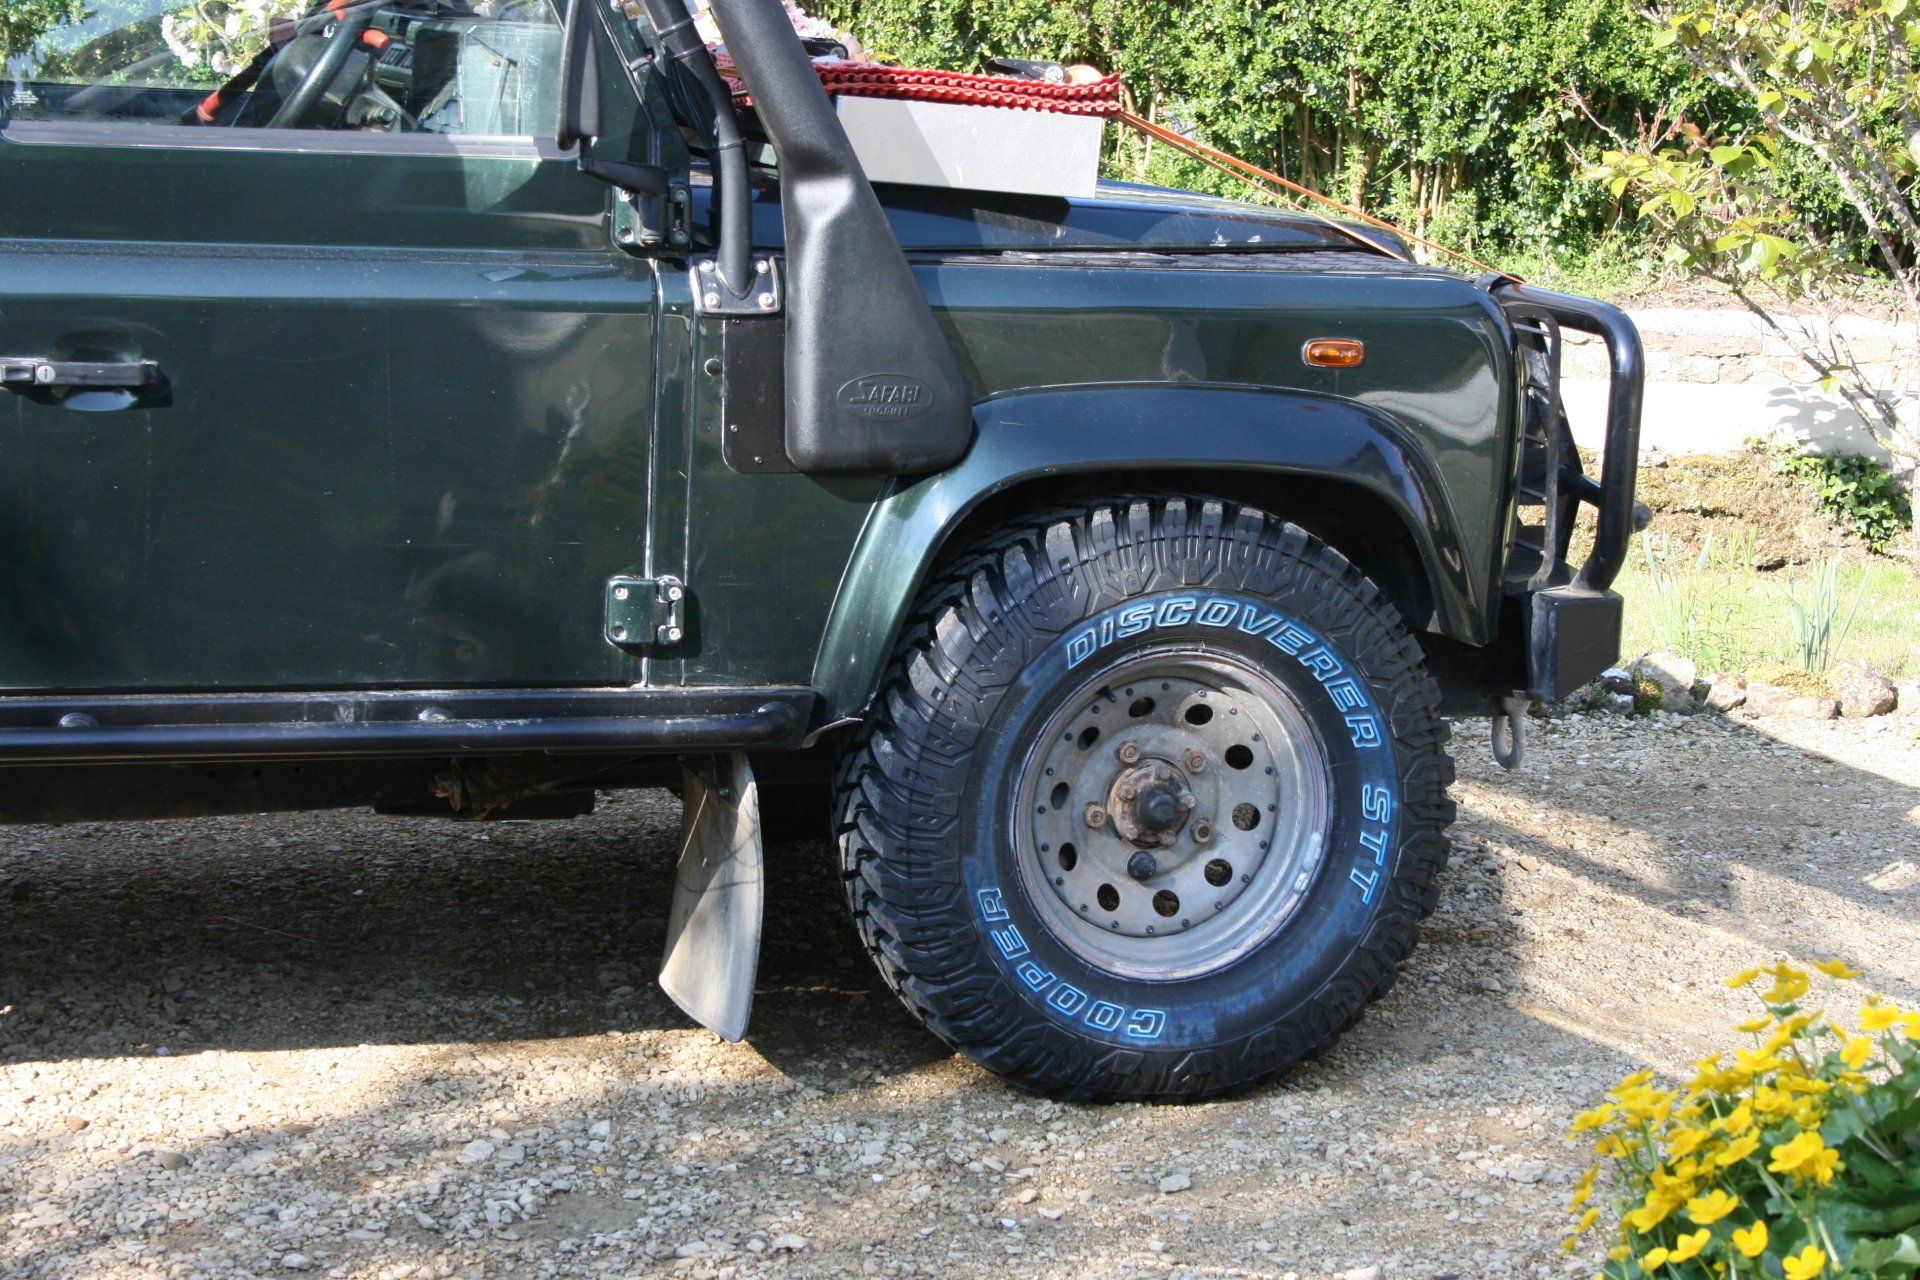
Wheels and tyres
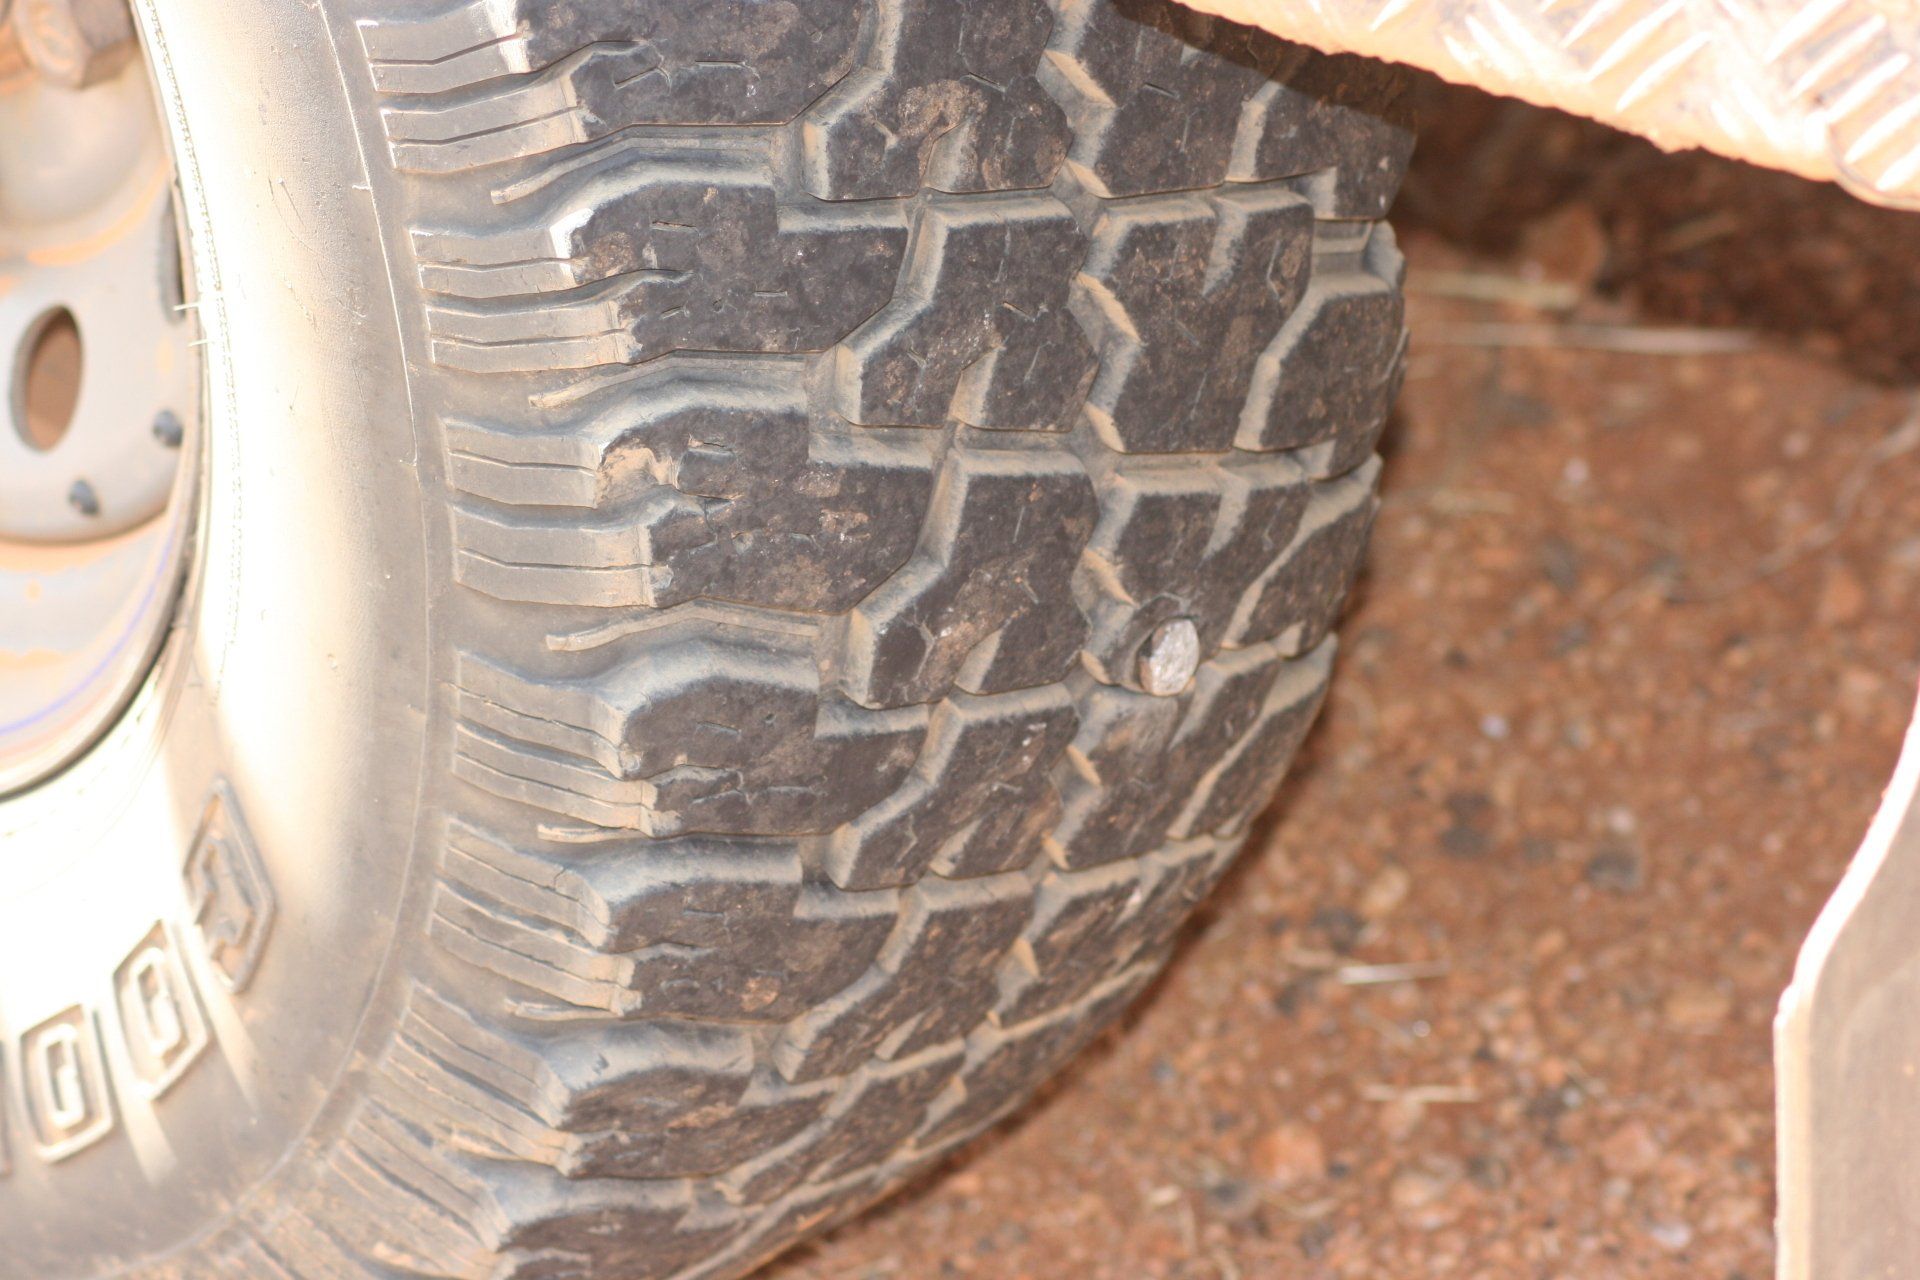
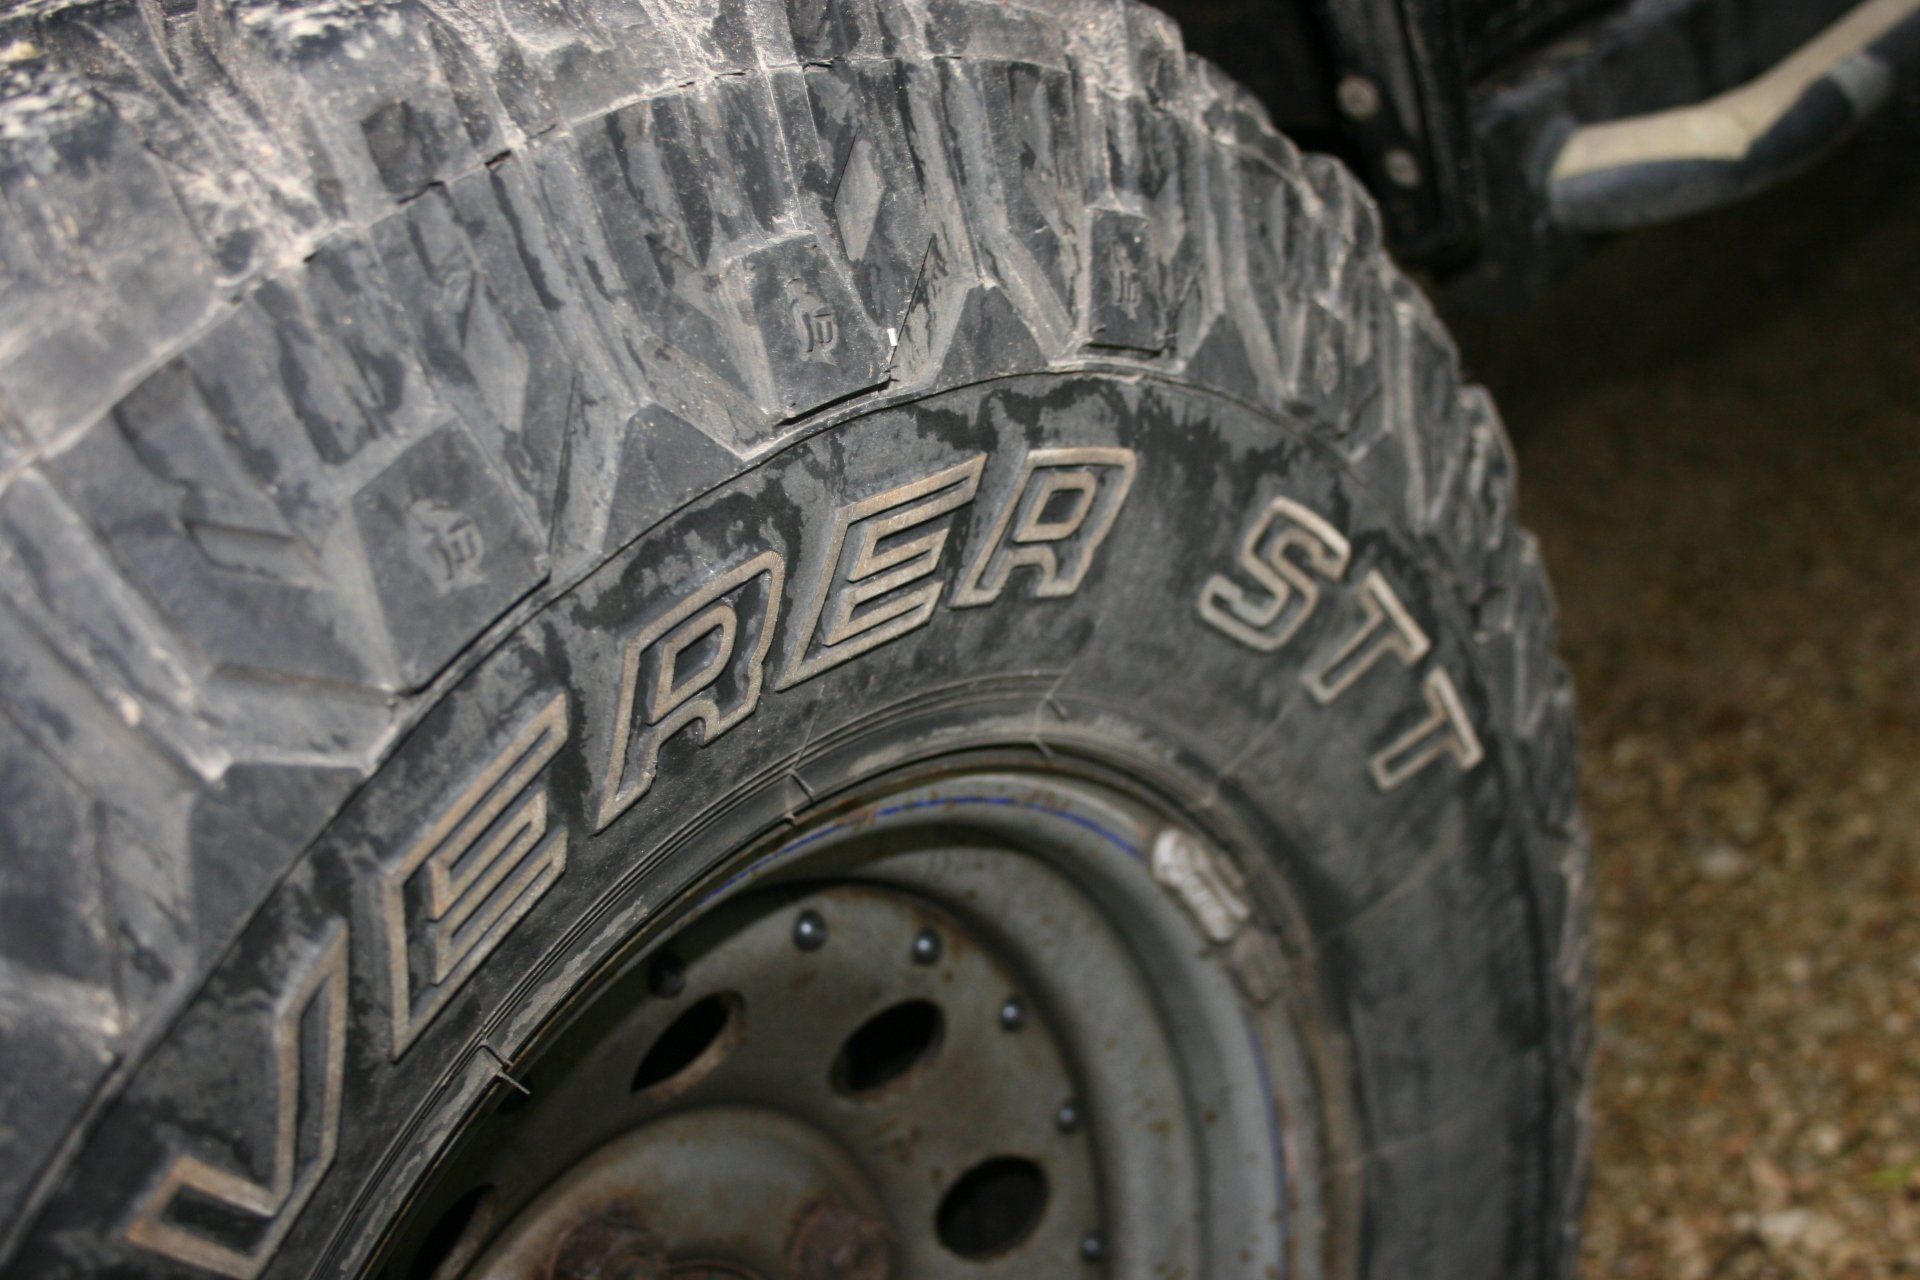
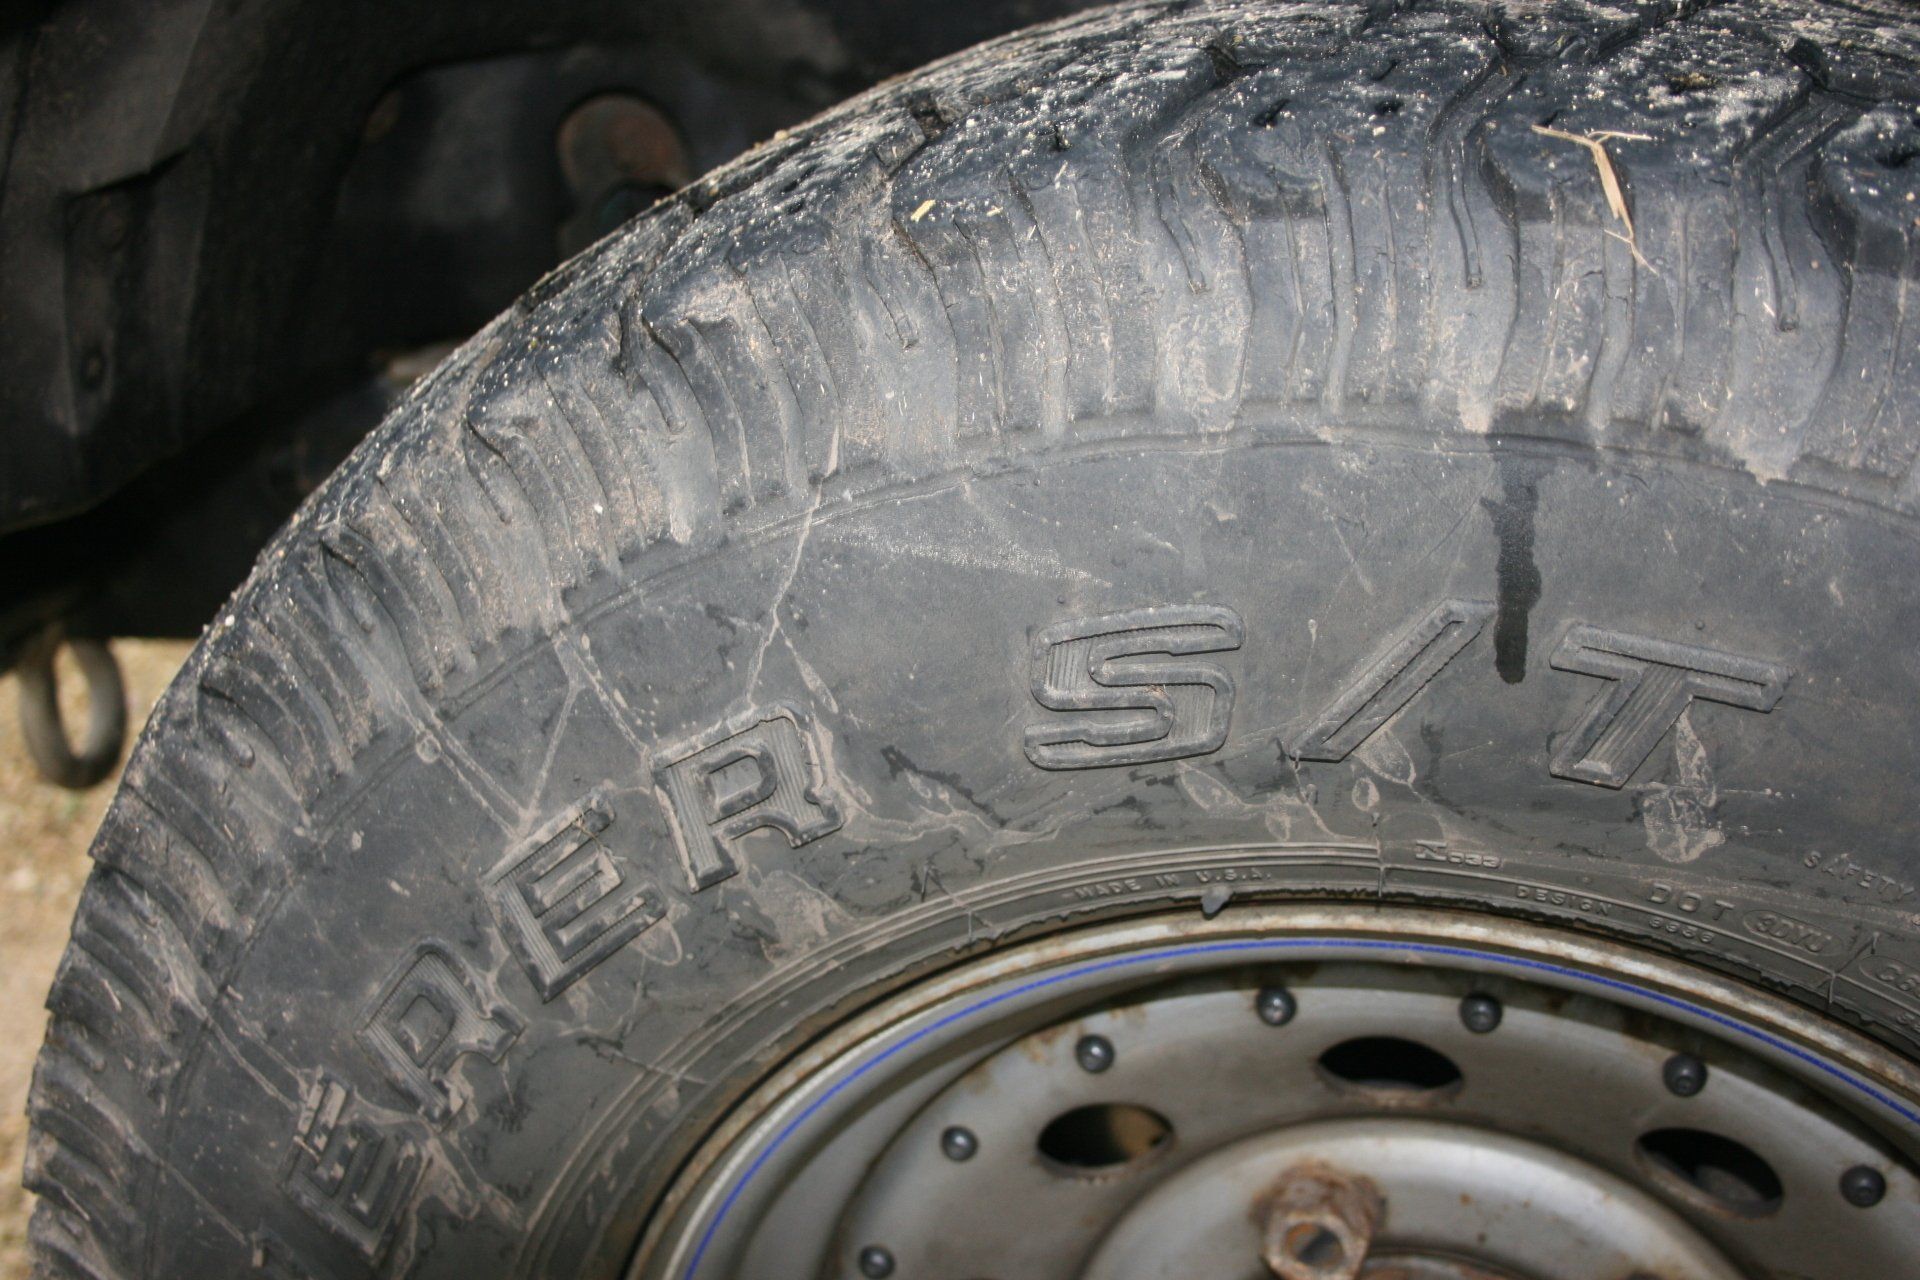
Standard aluminium wheels were replaced with steel wheels on the basis that a dented steel wheel can be hammered back into some semblance of a wheel whereas an aluminium one is probably totalled. We went for Cooper Discoverer S/T 285/75R16 tyres and opted for two spares, one on the rear and one on the roof rack, locked, with locking nuts to road wheels and rear spare. Whilst we carried a comprehensive tyre repair kit I did not relish the challenge of actually doing the repair; two spares meant we still had a spare should we have to use the other. Most villages will have a tyre repairer and I would prefer leaving it to them.
With hindsight I would have opted for a smaller tyre for ease of sourcing replacements, not that I needed to. However, as testimony to the Cooper tyres, in 32,000 miles of African roads and 20,000 miles in the UK prior to that we never suffered a puncture with the only repair being the plugging of a hole caused by a bolt in the tread. On return to the UK there was still plenty of tread left although two failed the MoT due to ripped tread blocks exposing the cord. I think that says it all!
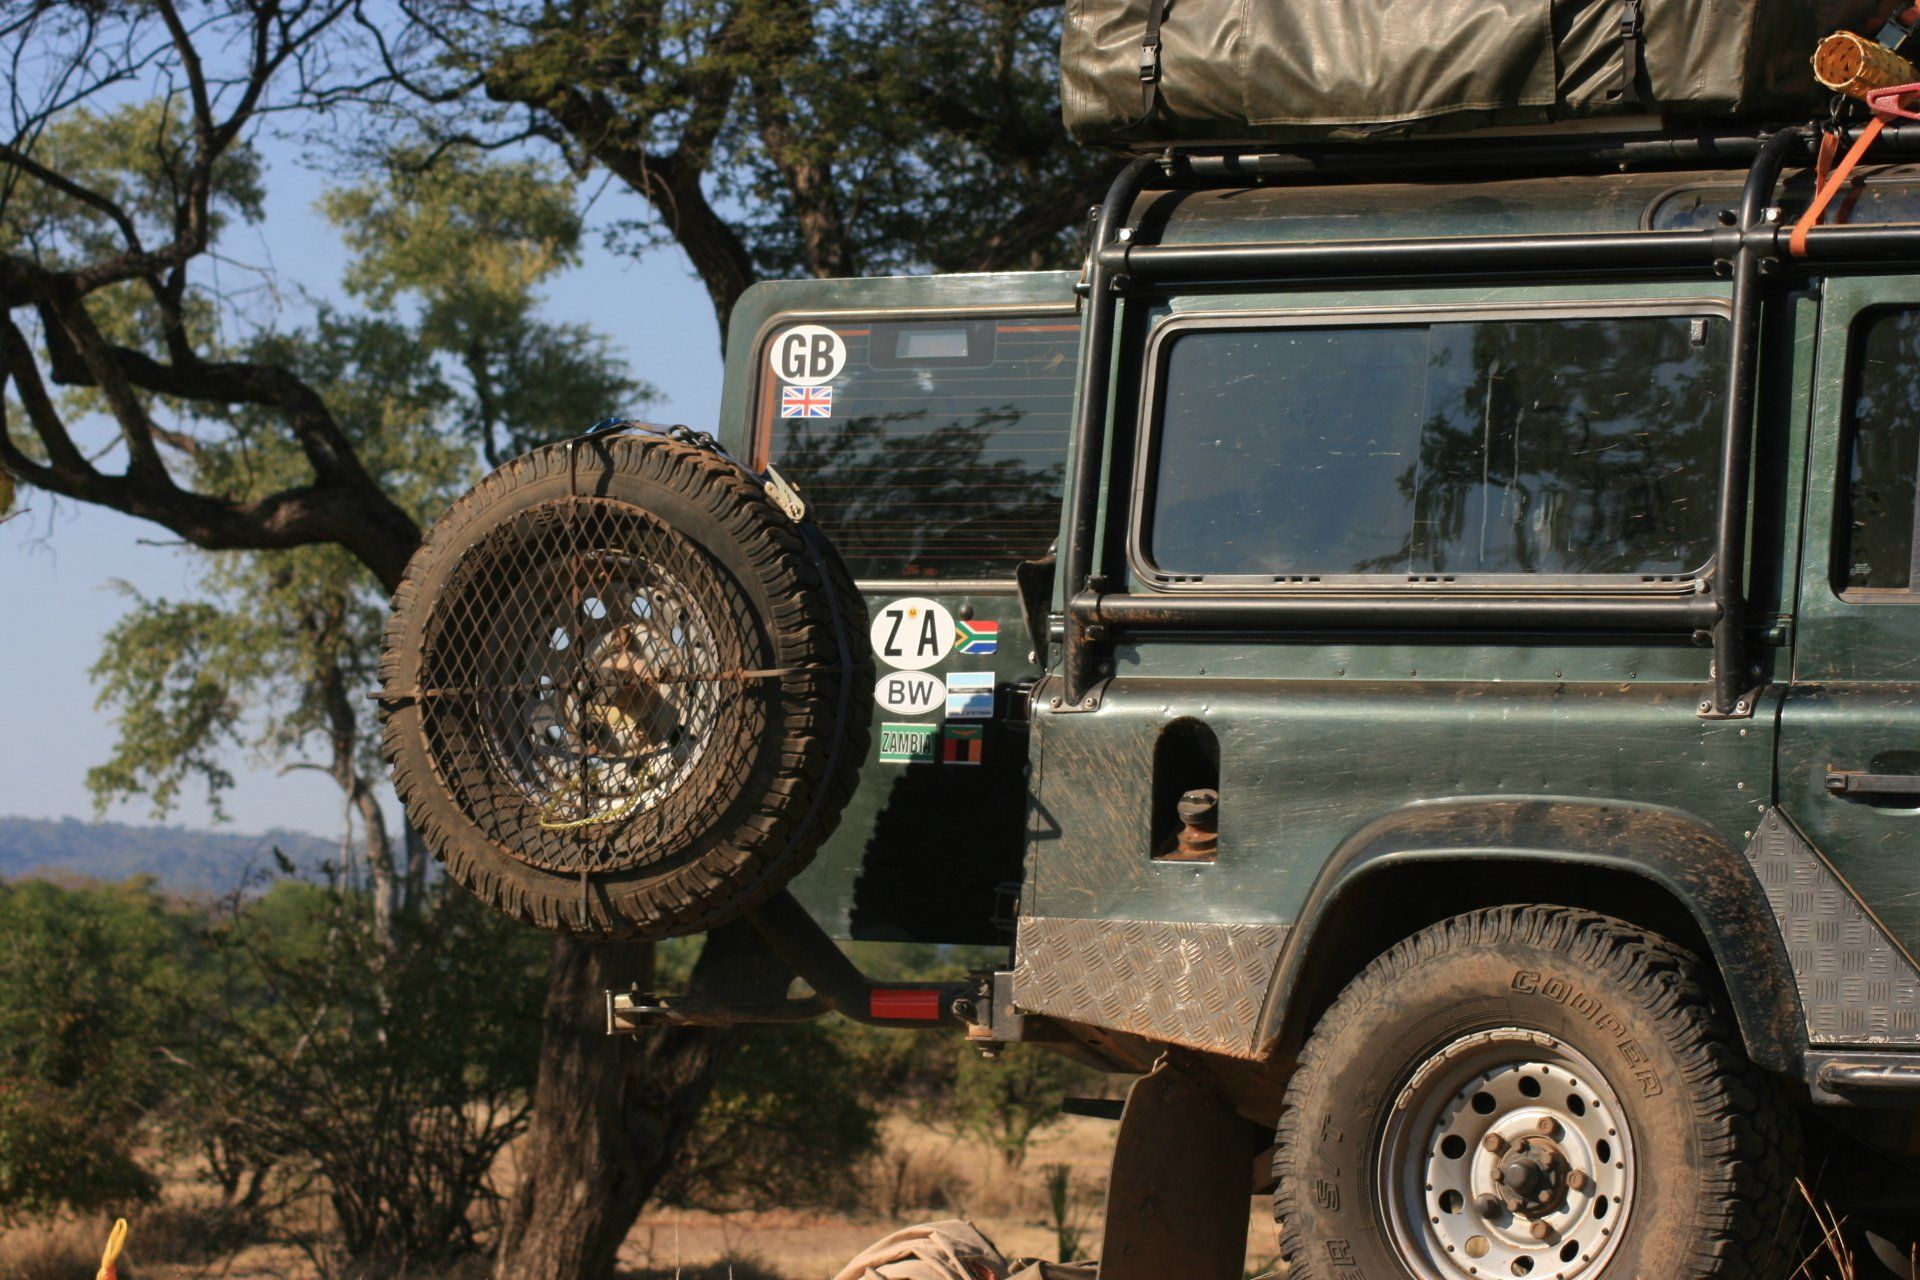
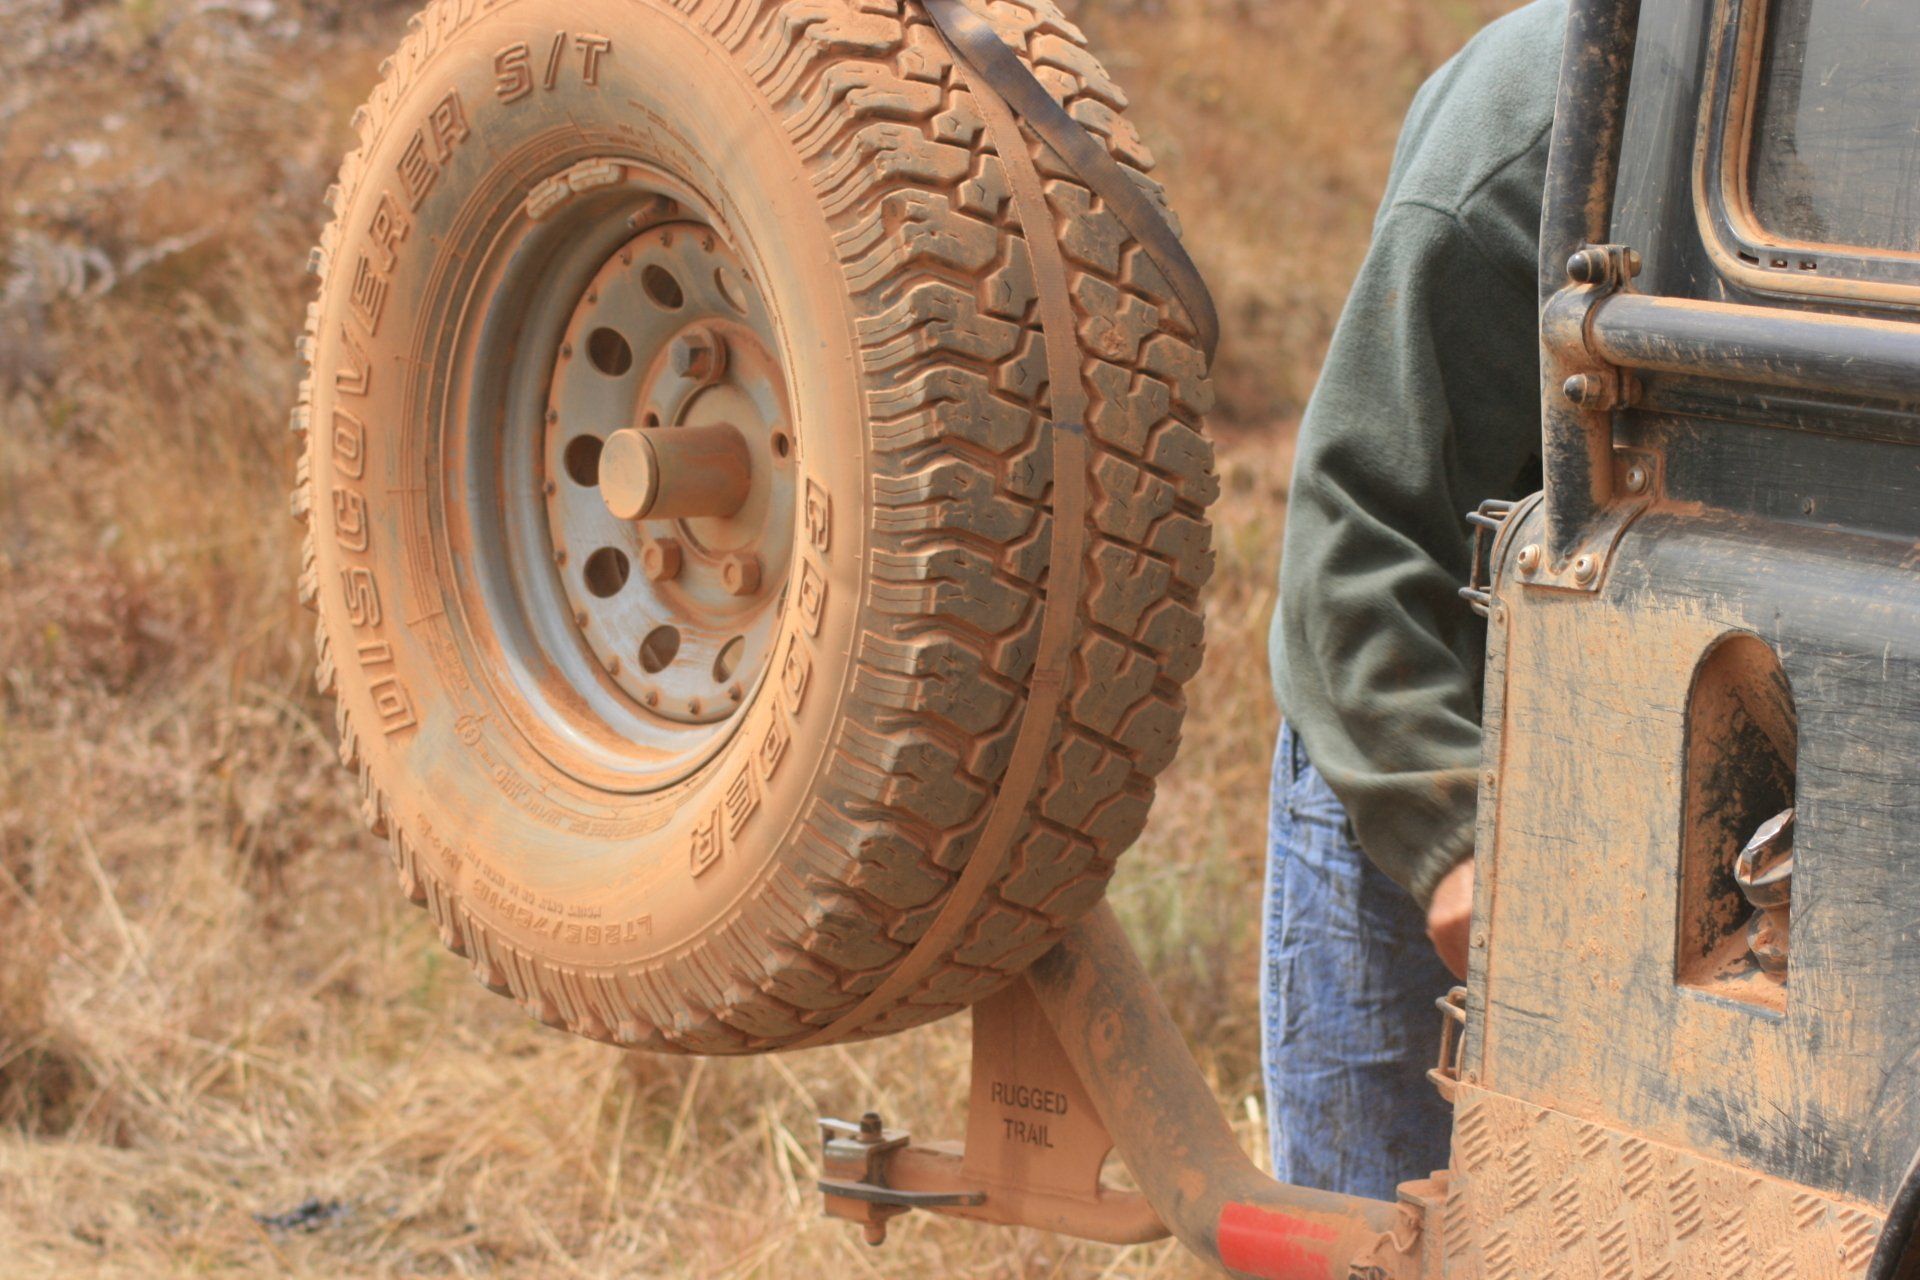
Spare Wheel Carrier (Rugged Trail)
The standard position to mount the spare wheel is directly onto the rear door. Whilst this is fine for ‘normal’ use once off-road the additional forces will soon wear out or break the door hinges and/or lock. It is best to transfer the load onto the chassis by means of a bespoke wheel carrier. We went for the ‘Rugged Trail’ system that has a heavy duty arm onto a large plate bolted onto the chassis (you could get twin systems). The arm needed to be opened first before the door and pinned into position. However, a ham-fisted mechanic in Port Alfred managed to partially open the door first, denting it and then force the carrier open without lifting the pin. It still worked but could not be locked in the open position; okay unless the vehicle is on a side slope. The heavy mechanism is not obvious how to open and thus acts as a theft deterrent; can be padlocked. In time the single hinge pin wears. [some welding work done on the arm on return to the UK; item no longer available so replaced with a more conventional two point carrier]
The second spare went on the roof rack with a Frontrunner holder (Padlocked). Keeping spares on the roof is not ideal as they are heavy to get up and bounce a long way if dropped. With my set up it was easier to lift the wheel onto the bonnet then stand on the bonnet and roll it up the windscreen, or down.
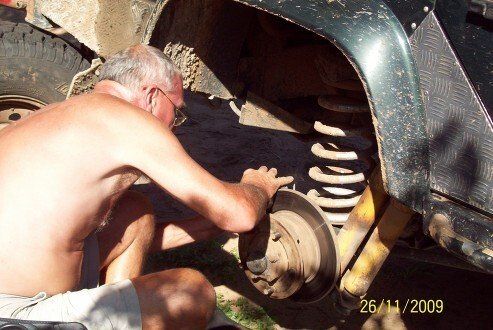
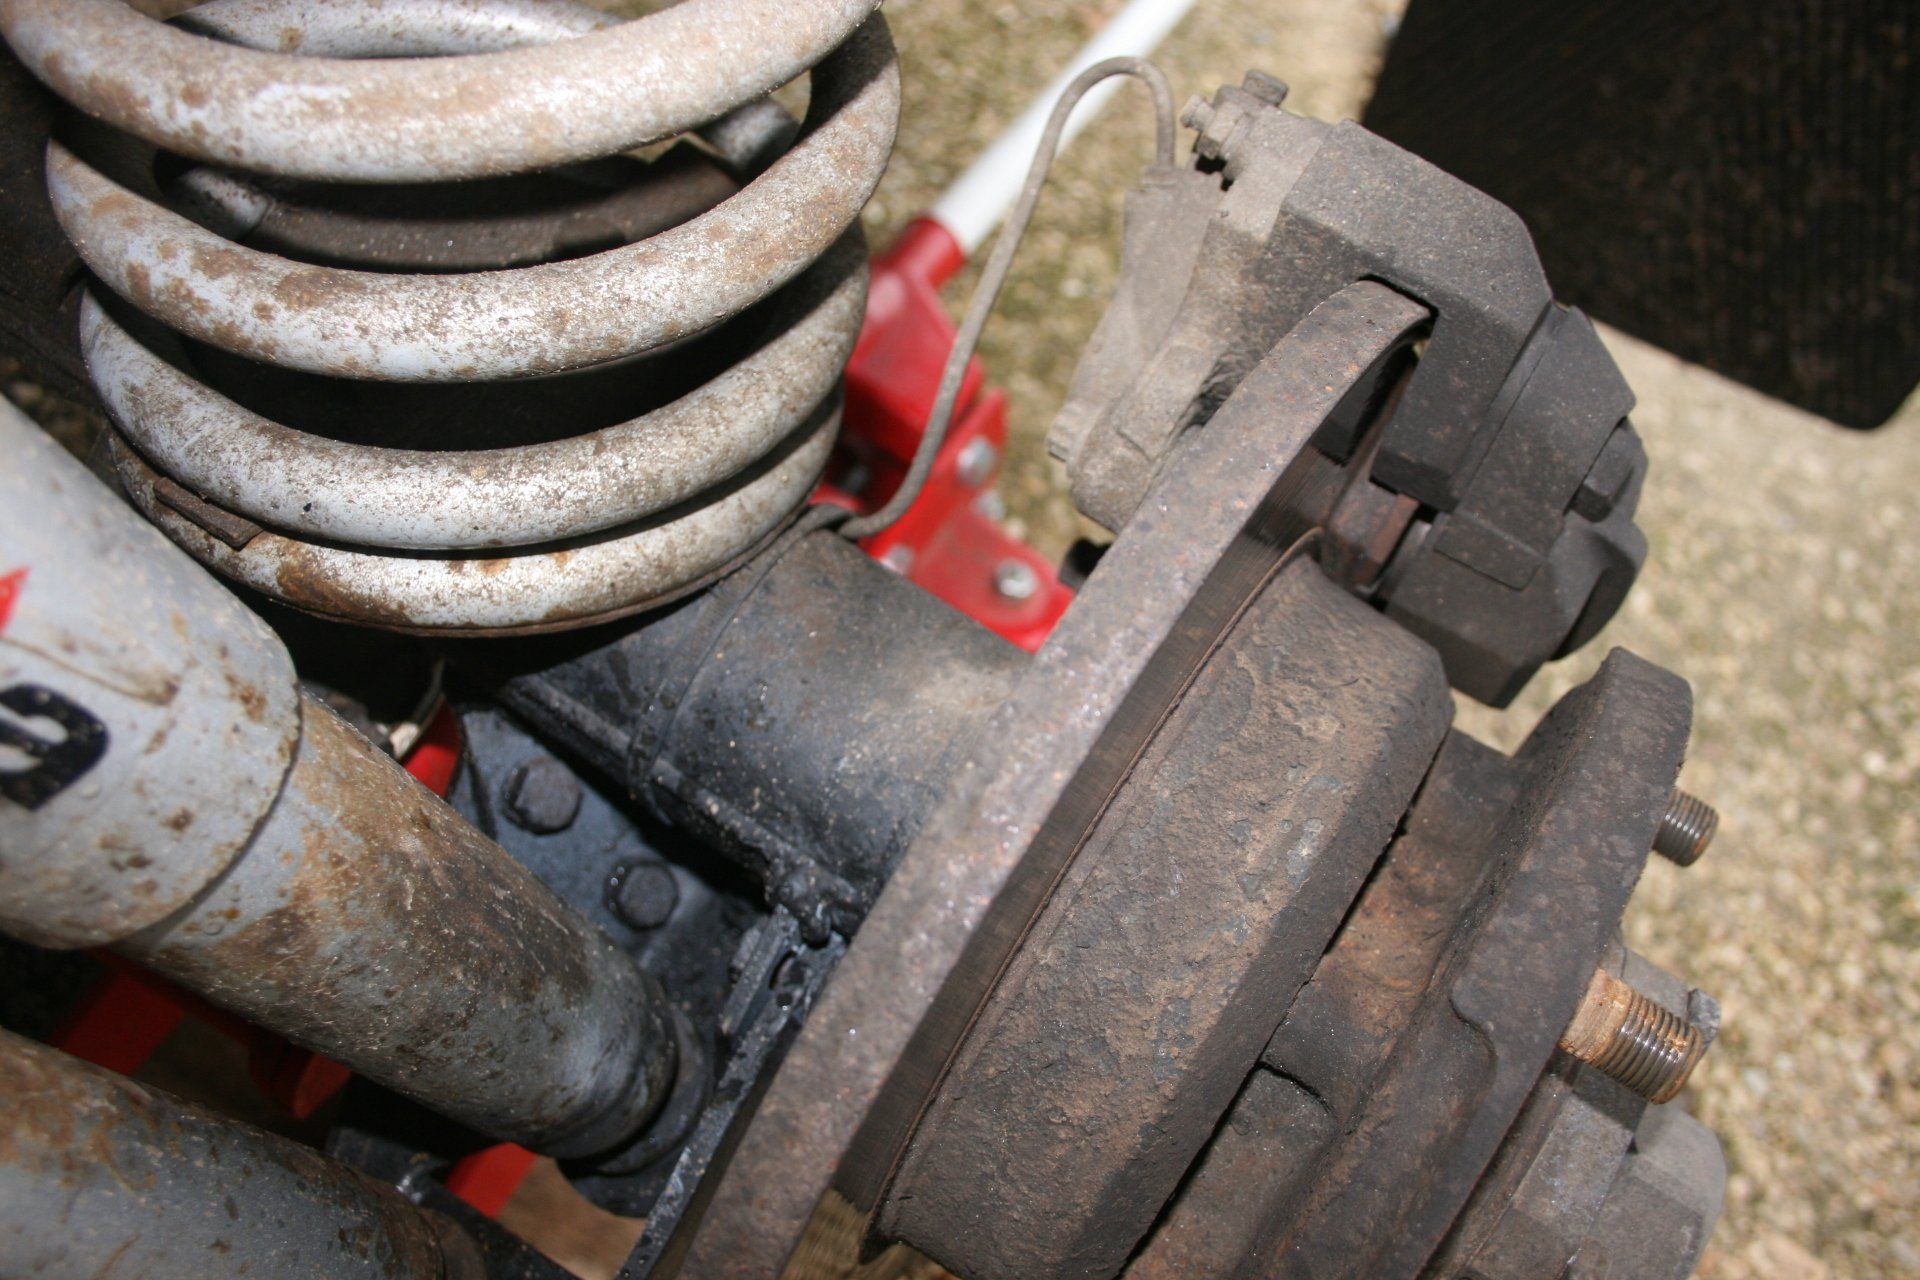
Brakes
With the extra weight thought it would be sensible to upgrade the brakes. This was limited to replacing the standard vented front discs with grooved and drilled ones that are supposed to dissipate the heat better. I also fitted Kevlar pads but these didn’t last as long as I would have expected (only about 24,000 miles): to be honest I didn’t notice much difference. Likewise the rear brakes didn’t last too long either; new Land Rover ones fitted in Malawi were metal to metal within 8,000 miles.
I should have taken several spare sets of new brake pads, front and rear because Land Rover ones were expensive in Africa. I only took a few part worn pads as spares that worked as a stop gap until sourcing new ones, but this was a mistake – as Judi reminded me several times!
Be aware that in some areas the African wet soil is akin to setting concrete and when this gets into the brakes acts as a very abrasive substance wearing out pads in a matter of miles, as happened to us in the Tuli Block, Botswana.
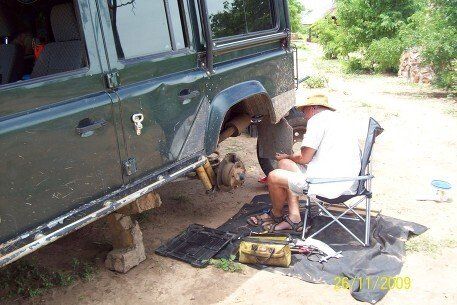
Suspension Modifications
A standard Land Rover Defender 110 Station Wagon has a gross weight of 2950 kg rising to 3500 kg for heavy duty models. Knowing that we would be carrying a lot of extra weight from extra equipment, items and personal effects (a visit to a weight bridge in the UK prior to departure revealed a weight of 3250 kg and still not fully loaded!) with much of the time spent off-road, we decided to upgrade the suspension.
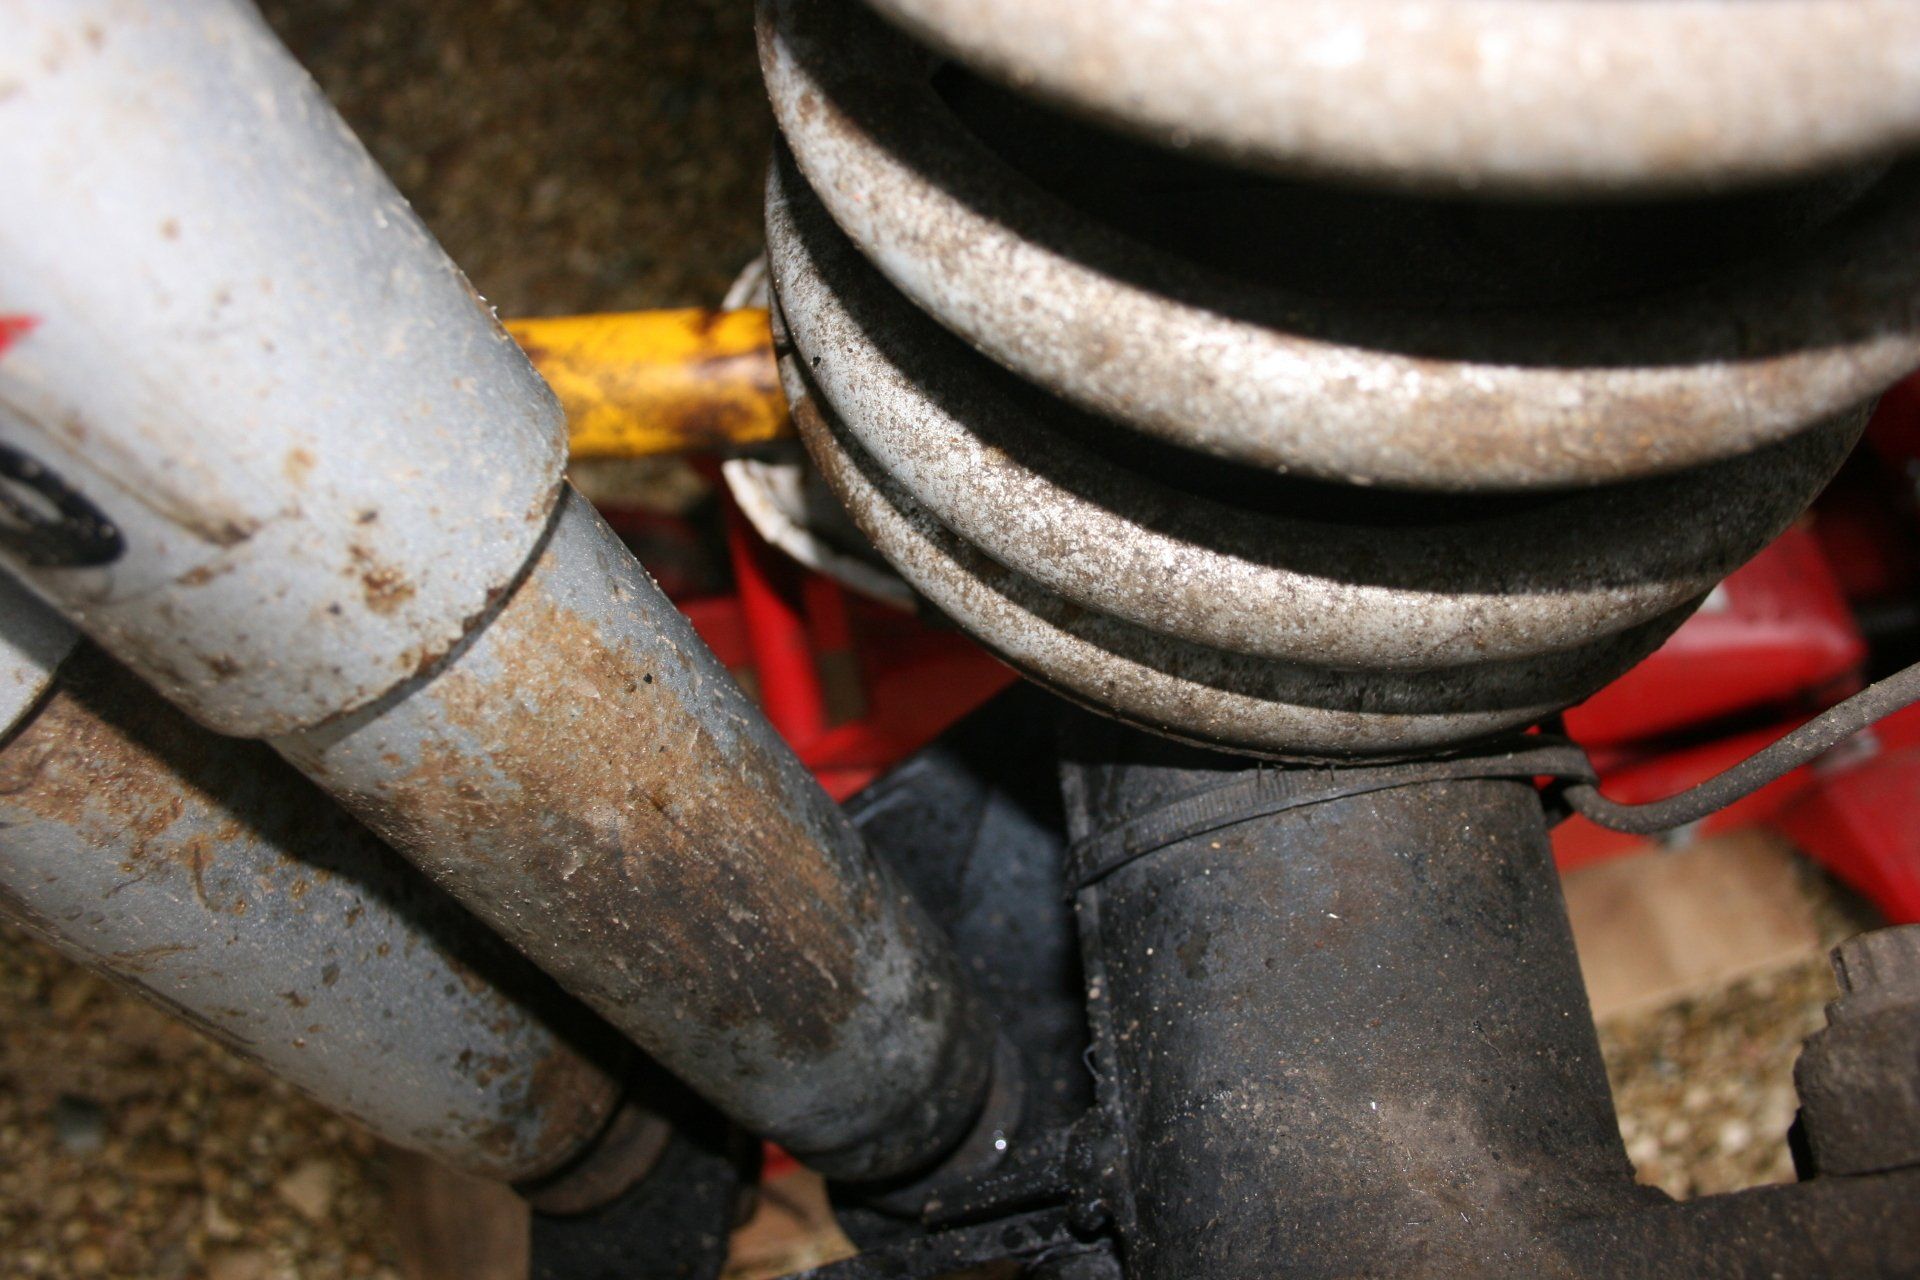
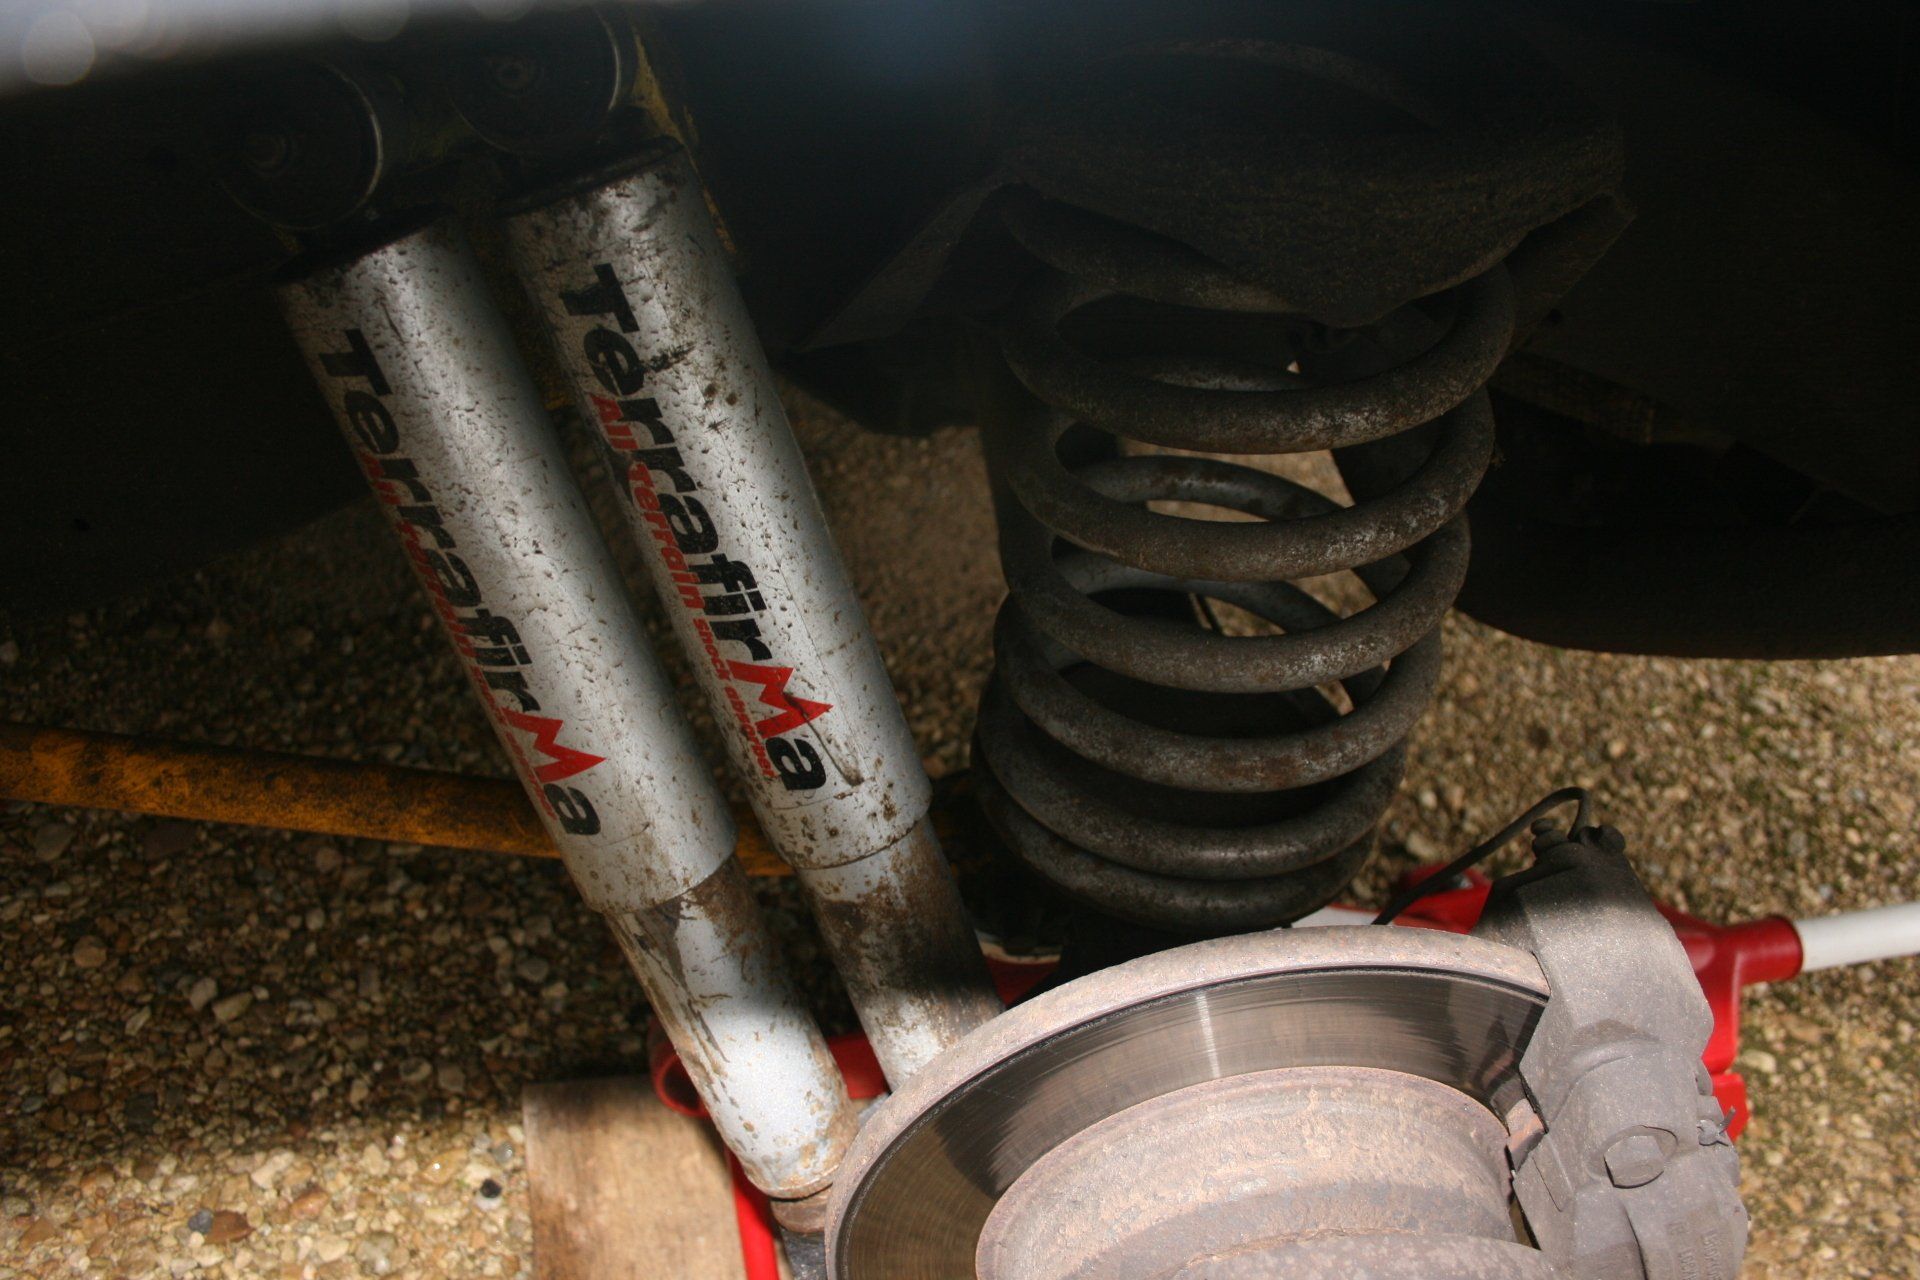
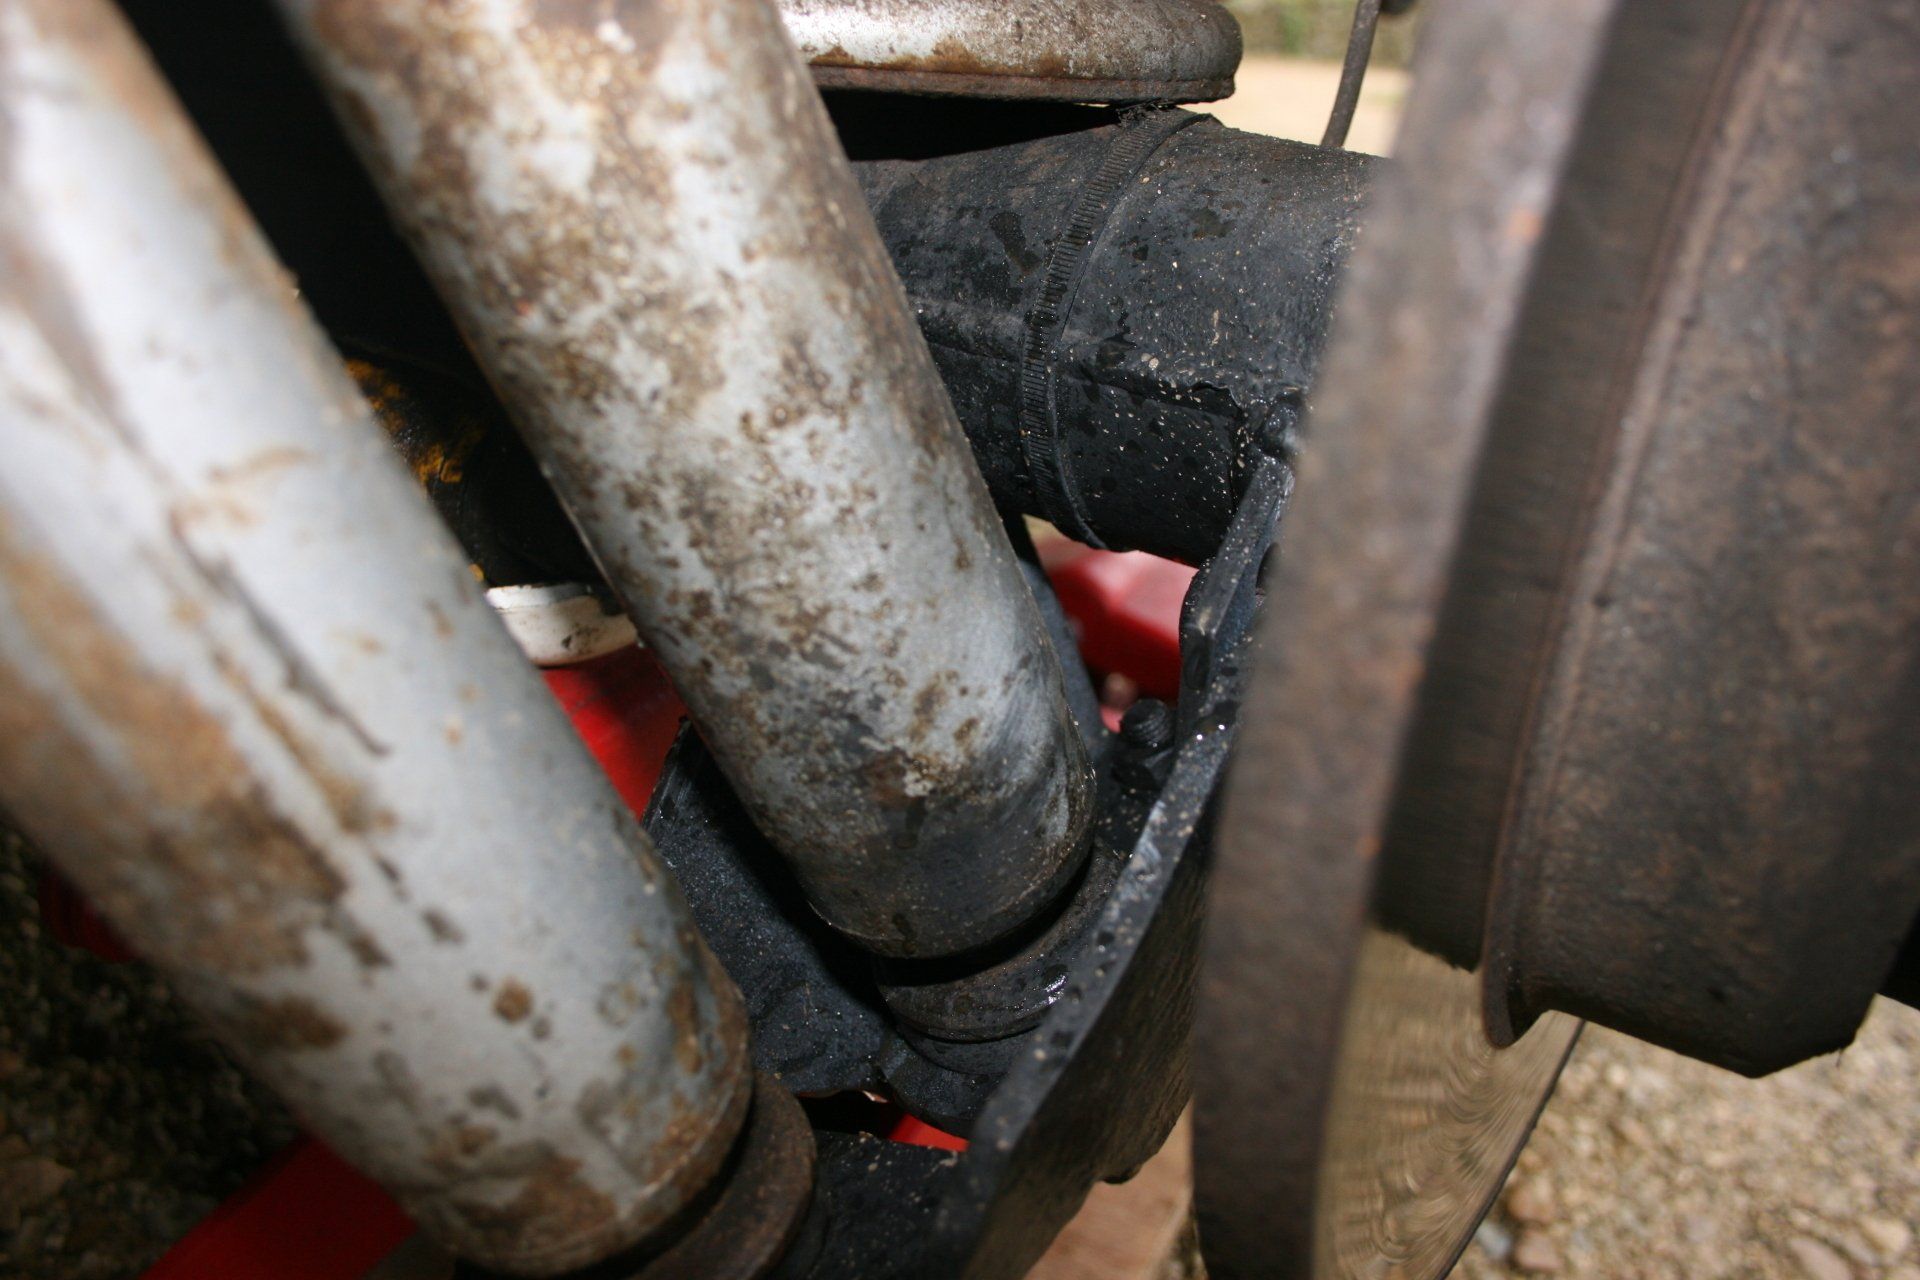
Terrafirma heavy load front & rear coil springs (with castor correction) with 50 mm extra lift fitted, along with single shock absorbers front and twin shocks at the rear. (Many options available)
The suspension will take a pounding especially on corrugated roads and twin shock absorbers reduce the heat build-up in each one. This set up survived remarkably well considering the African miles we did with only the following problems: rear nearside twin shock mount bracket to axle bracket ripped off; rear offside lower link trailing arm bracket worn; broken front nearside coil & leaking shock absorber.
The shock absorber bracket was repaired by welding and the front coil springs and shock absorbers were replaced but with standard load components as non-standard ones were difficult to source. This survived the remaining 9,500 miles of the trip until eventually replaced back in the UK
With hindsight I would have undertaken the following work:
Rear axle shock absorber brackets strengthen.
Take a couple of spare lower link trailing arm brackets & shock absorber brackets that can be welded on as replacements in the event of failure.
Fit cranked lower link trailing arms to reduce the stresses caused by the body lift [fitted on return to UK].
Fit twin shock absorbers to the front but big bore ones now available [twins fitted on return to UK – but seriously reduces turning circle so second absorber removed – big bore fitted].
As the front and rear coil springs and the front and rear shock absorbers are different, carrying spares probably would be sensible but is a question of feasibility due to space. Having twin shocks all round does mean you still have one serviceable absorber in the event of failure of the other.
The additional height from the springs meant the front prop shaft had to be replaced with one giving increased angle. A Discovery double cardan one was fitted and that required a replacement UJ, but a long way into the trip – these UJs are not greasable and are not intended to be repaired. I’ve had problems since returning to the UK. For future trips I would look into this aspect in greater detail and would probably fit a wide-angle prop shaft or seriously consider sticking with the standard set-up. Get the set up right before venturing into the wilderness.